Caring for an older adult often means stepping into roles you never expected, including helping with personal hygiene tasks like ear care. If you’ve ever wondered how to clean elderly ears without causing harm, you’re not alone. The truth might surprise you: most elderly ears don’t need active cleaning at all. The ear is a self-cleaning organ, and cerumen (earwax) plays a vital protective role in keeping the canal healthy and infection-free.
But as people age, changes in wax production, hearing aid use, and fragile skin can create situations where safe, informed care becomes essential. When wax becomes impacted, it can lead to muffled hearing, dizziness, or even confusion in seniors with cognitive issues. This guide gives you safe, proven methods for cleaning elderly ears based on medical guidance, so you can protect comfort and preserve hearing without unnecessary risks.
Clean Only the Outer Ear with Gentle Methods

Wipe the Outer Ear with a Damp Cloth
The safest daily practice for elderly ear care is cleaning only the visible part of the ear. Use a soft, damp washcloth to gently wipe the pinna (outer ear) and the entrance of the ear canal. Never insert anything into the canal itself.
• Focus on the folds and creases where dirt tends to accumulate
• Avoid using soap, which can dry out already-fragile elderly skin
• Dry thoroughly after cleaning to prevent moisture-related infections
Limit Cotton Swabs to the Outer Rim
If you choose to use cotton swabs, restrict them to the outer rim of the ear only. Never push them into the ear canal, even slightly. In elderly individuals, this can compact wax deeper or scratch delicate skin.
Visual cue: If you can’t see the cotton tip, it’s too far in.
Pro tip: Fold the swab slightly to reduce reach and prevent accidental insertion during sudden movements.
Recognize the Warning Signs of a Real Problem
Muffled Hearing or a Feeling of Fullness
When earwax builds up and blocks the canal, sound can’t travel properly to the eardrum. The person may turn up the TV volume, frequently ask you to repeat yourself, or comment that their ear feels “full.” This symptom is often mistaken for age-related hearing loss, but it could be simple wax impaction, which is a reversible cause.
Ringing, Itching, or Discomfort
Tinnitus (ringing in the ear) or persistent itching may signal wax buildup. These symptoms are easy to overlook but can affect sleep, concentration, and overall quality of life.
Red flag: If itching is accompanied by odor or discharge, an infection may be present, and professional evaluation is needed.
Visible Hard or Dark Wax at the Opening
Sometimes dark, hardened wax is clearly visible at the ear opening. Do not attempt to dig it out with any tool. Soften it first with ear drops or seek professional help for safe removal.
Soften Stubborn Wax with Over-the-Counter Ear Drops
Choose a Safe, Effective Solution
When wax is stubborn and needs softening, use ear drops specifically designed for that purpose. Effective and safe options include:
• Purified mineral oil (available at any pharmacy)
• Diluted hydrogen peroxide (3% solution)
• Carbamide peroxide products like Debrox or Murine
These help break down hardened wax so it can migrate out naturally without forceful removal.
Apply Drops the Right Way
- Have the person lie on their side with the affected ear facing up
- Gently pull the earlobe up and back to straighten the canal
- Place 2 to 3 drops into the ear
- Keep the head still for 5 to 10 minutes
- Wipe away any excess with a soft cloth
- Repeat nightly for 3 to 5 days
Warning: Stop immediately if pain, burning, or dizziness develops during or after application.
Pro tip: Warm the bottle in your hands before use. Cold drops can cause dizziness, especially in older adults with balance sensitivity.
Try At-Home Irrigation Using the VA Syringe Method
Gather Your Supplies
When professional care isn’t easily accessible, the Veterans Administration (VA) method offers a safe at-home option for removing impacted wax from elderly ears. You will need:
• 3% hydrogen peroxide
• Room-temperature water (boiled and cooled if using well water)
• A 10 ml syringe with a flexible plastic tip (Luer-Lok style)
• A C-shaped bowl or emesis basin
• A clean towel
Follow the Step-by-Step Process
- Wash your hands thoroughly before beginning
- Mix equal parts hydrogen peroxide and water (about 5 ml per ear is enough)
- Draw the solution into the syringe
- Have the person lie on their side with a towel tucked under their head
- Gently insert the flexible tip just inside the ear opening. Do not force it deeper
- Slowly press the plunger to release the solution
- Wait 5 minutes for bubbles to loosen the wax
- Turn the head over the bowl to drain fluid and wax debris
- Repeat for the other ear if needed
Critical: The solution must be body temperature. Liquid that is too hot or too cold can cause severe dizziness in elderly patients.
Visual cue: You may see wax particles in the drained fluid, which confirms the method is working.
Do not use this method if the person has a history of eardrum perforation, ear surgery, or active ear infection.
Avoid These Dangerous Cleaning Practices

Never Insert Cotton Swabs Into the Canal
Despite how common they are in bathrooms everywhere, cotton swabs (Q-tips) are unsafe for internal ear cleaning. They push wax deeper, risking impaction and eardrum perforation, and can cause injury if the person moves suddenly.
Myth: “I only go in a little.” Even shallow insertion can compact wax and damage fragile skin.
Skip Ear Candling Entirely
Ear candling is not effective and poses serious dangers, including burns to the face or ear, candle wax dripping into the canal, and potential eardrum damage. No medical organization supports this method.
Don’t Trust DIY Wax Hooks or Picks
Tools marketed as “safe ear cleaners” often do more harm than good. They can scratch the ear canal, push wax further in, and cause bleeding or infection. Only trained professionals should use instruments like curettes under proper visualization.
Handle Hearing Aids the Right Way
Remove Devices Before Any Cleaning Procedure
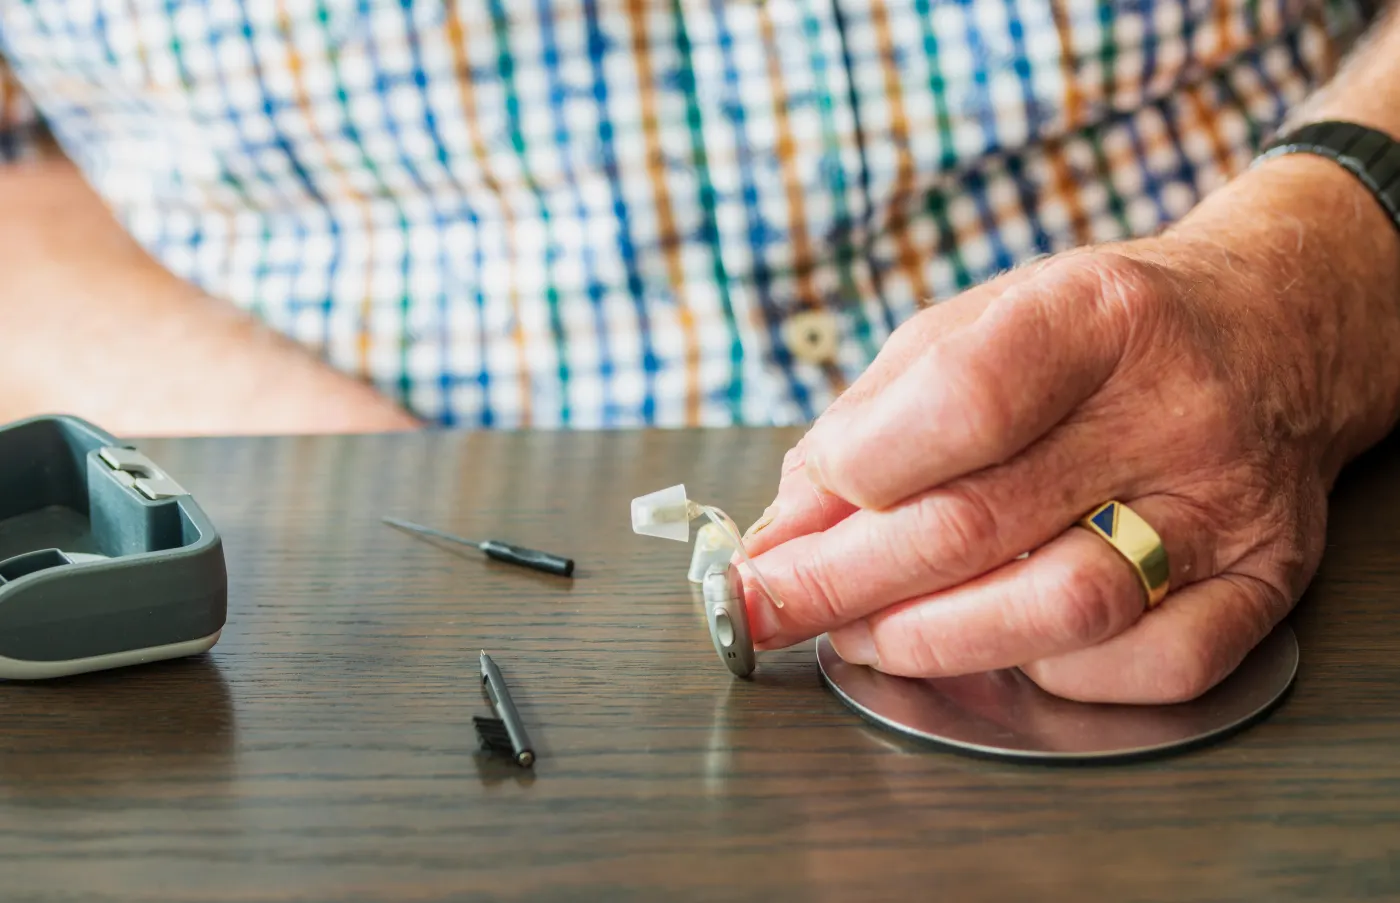
Hearing aids must be taken out before using drops or performing irrigation. They are not waterproof, and moisture can damage the electronics.
• Store them in a dry container during the procedure
• Reinsert only after the ear is completely dry (wait at least 30 minutes)
Clean Hearing Aids Regularly
Hearing aids can trap wax and contribute to buildup in the canal. Follow the manufacturer’s cleaning instructions and have them professionally serviced on a regular schedule.
Pro tip: Schedule ear checks with an audiologist every 6 months if hearing aids are worn daily.
Debunk Common Ear Cleaning Myths
Myth: Ears Need Routine Cleaning
Truth: Ears are self-cleaning. Wax naturally migrates outward on its own. Routine cleaning disrupts this process and can cause dryness or irritation, especially in older adults who already produce less wax.
Myth: Older Adults Produce More Wax
Truth: Many elderly individuals actually produce less wax, leading to dry, itchy ears. Over-cleaning makes this problem worse.
Myth: Pain During Wax Removal Is Normal
Truth: No pain should occur during proper wax removal. Pain means the technique is wrong, or there is a medical issue requiring attention.
Know When to Seek Professional Help
Watch for These Red Flag Symptoms
Seek professional care without delay if the person experiences:
• Persistent hearing loss that doesn’t improve with home treatment
• Ear pain or unusual discharge
• Dizziness or balance issues
• Blood or pus coming from the ear
• No improvement after several days of home treatment
What Professionals Can Provide
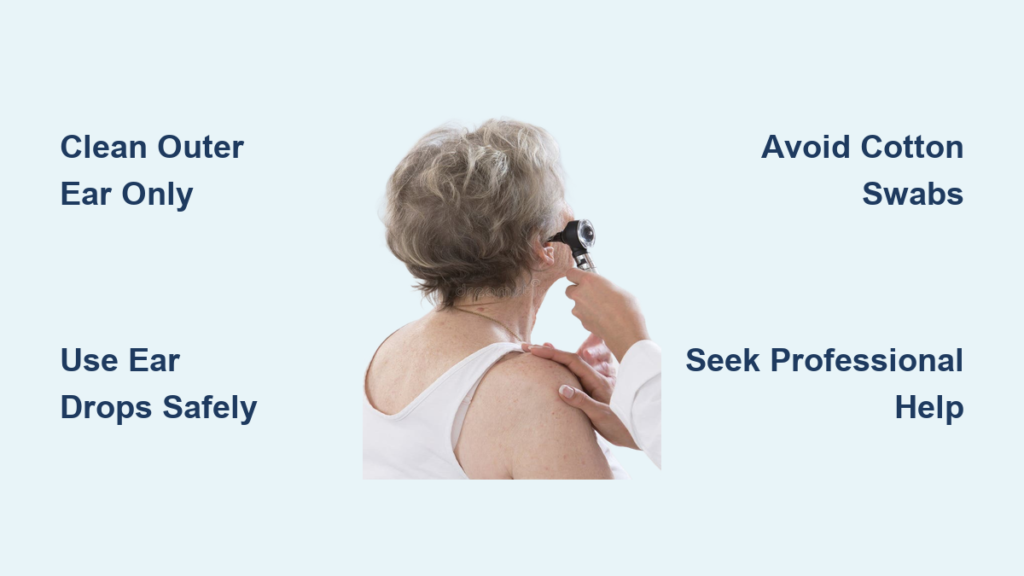
A healthcare provider (primary care doctor, audiologist, or ENT specialist) will use specialized equipment to:
• Look inside the ear with an otoscope
• Remove wax safely using suction, gentle irrigation, or a curette
• Check for signs of infection or eardrum damage
• Assess overall hearing function
For elderly patients, audiologists are often a gentler and more accessible option than ENT specialists.
Find Elder-Friendly, Compassionate Care
Choose the Right Provider
Not all practitioners are trained in geriatric ear care. Look for:
• ENTs who specialize in elderly patients
• Audiologists for routine wax management
• Geriatricians who can refer you to appropriate specialists
Ask prospective providers: “Do you use pain-free methods? Do you offer home visits for patients with mobility challenges?”
Consider Home Visits When Needed
Many professionals now offer in-home ear cleaning services, especially for those with mobility limitations or dementia. This reduces stress, eliminates travel difficulties, and often ensures safer, more comfortable care.
Tip: Veterans may qualify for VA home care services that include ear cleaning kits and detailed instructions.
Prevent Future Buildup with Simple Habits
Let Ears Do Their Job
The best prevention strategy is doing nothing. Avoid inserting objects and let wax exit naturally over time.
Keep Ears Dry After Bathing
Moisture trapped in the ear canal can lead to infections. After showers or baths:
• Tilt the head to each side to drain water
• Gently dry the outer ear with a soft towel
• Avoid using cotton swabs to dry inside the canal
Monitor for Subtle Changes
Watch for warning signs such as:
• Sudden shifts in hearing ability
• Increased complaints of ear fullness
• Behavioral changes, especially in dementia patients
These may be early indicators of wax buildup that needs attention.
Use This Caregiver Safety Checklist
Do:
• Clean only the outer ear with a damp cloth
• Use ear drops to soften wax when needed
• Try the VA syringe method carefully when professional care isn’t available
• Remove hearing aids before any cleaning procedure
• Stop immediately if pain, bleeding, or distress occurs
Don’t:
• Insert cotton swabs, fingers, or any tools into the ear canal
• Use ear candles or unproven removal devices
• Force irrigation if the person is uncomfortable or resistant
• Ignore signs of infection or sudden hearing loss
• Accept painful wax removal as “normal” or unavoidable
Golden rule: If it hurts, something is wrong.
Frequently Asked Questions About Elderly Ear Care
How Often Should You Clean an Elderly Person’s Ears?
Most elderly ears only need gentle outer cleaning once or twice a week with a damp cloth. The ear canal should rarely, if ever, be cleaned actively. Routine insertion of objects or solutions is unnecessary and can disrupt the ear’s natural self-cleaning process.
Is It Safe to Use Hydrogen Peroxide in an Elderly Person’s Ears?
Yes, but only when properly diluted. A 3% hydrogen peroxide solution mixed with equal parts room-temperature water is safe for softening wax in elderly ears. Never use full-strength peroxide, and always stop if pain, burning, or dizziness occurs.
What Are the Signs of Earwax Impaction in the Elderly?
Common indicators include muffled hearing, a sensation of fullness in the ear, ringing (tinnitus), itching, and visible dark or hardened wax at the canal opening. In seniors with dementia, sudden confusion or withdrawal may also signal hearing changes caused by impaction.
Can You Use Cotton Swabs If You’re Very Careful?
No. Even with extreme care, cotton swabs risk pushing wax deeper into the canal or damaging the eardrum. In elderly individuals with fragile skin and sudden movement risks, the danger is even greater. Use cotton swabs only on the outer ear rim, if at all.
When Should an Elderly Person See a Doctor for Earwax?
Schedule a professional evaluation if the person has persistent hearing loss, ear pain, discharge (especially bloody or pus-like), dizziness, or if home treatment fails after 3 to 5 days. A history of eardrum perforation or ear surgery also requires professional care rather than home methods.
Are Hearing Aids Making Earwax Buildup Worse?
Yes, hearing aids can increase wax production and trap wax against the skin. Remove hearing aids before any ear cleaning, keep them in a dry container during procedures, and reinsert only after the ear is completely dry. Regular audiologist check-ups help manage this issue.
Key Takeaways for Safe Elderly Ear Care
The safest approach to cleaning elderly ears is leaving them alone, except for gentle outer cleaning with a soft, damp cloth. When wax becomes problematic, soften it with over-the-counter ear drops or use the VA syringe method with caution. But when symptoms persist or red flags appear, see a professional without delay. With aging ears, gentle and informed care prevents pain, preserves hearing, and protects dignity. Prioritize safety over speed, and always listen to the person you’re caring for.
Your next step: Choose one safe practice from this guide to implement today, whether it’s swapping cotton swabs for a washcloth or scheduling a check-up with an audiologist. Small changes in ear care can make a meaningful difference in comfort and quality of life.