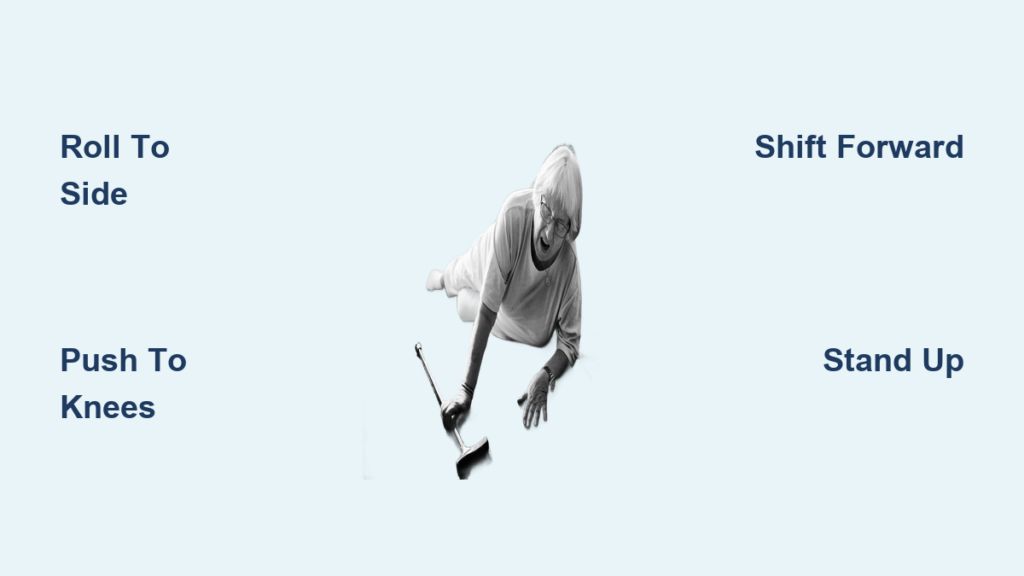
A fall or an unexpected seat on the floor can leave older adults feeling stuck, especially when strength, balance, and flexibility are limited. Knowing how to get up from the floor elderly individuals can trust helps reduce injury risk, ease anxiety, and protect independence at home. This guide breaks down a proven, step-by-step method that uses controlled body movement rather than brute force, so you can rise with confidence even on hard surfaces.
The technique below requires no special equipment or extreme flexibility. It relies on smart body positioning, gradual transitions, and core engagement to protect your back, knees, and hips throughout the process. Whether you slipped, lost your balance, or simply sat down and cannot rise, these steps will walk you through each phase clearly and safely.
Set Up a Safe Starting Position on Your Back
Lie Flat with Knees Bent
Begin by lying on your back if you are not already there. Keep your spine neutral and avoid twisting your torso. Bend your knees and place your feet flat on the floor, spaced hip-width apart. This position creates leverage for movement and protects your lower back during the next transitions.
Place your arms at your sides with palms pressed gently into the floor. This stabilizes your upper body and prepares you for the roll. If you are on a slippery surface or wearing loose clothing, adjust slightly to ensure grip and control before moving.
Activate Your Core for Stability
Tighten Your Abdominal Muscles
Before shifting positions, gently tighten your abdominal muscles as if bracing for a light squeeze. This core engagement supports your spine and prevents strain when you roll or push up. Keep breathing steadily in and out as you hold this activation.
This small action makes a big difference in stability. Think of it as turning on an internal brace that helps transfer force safely from your torso to your limbs during every movement.
Roll Onto Your Stronger Side

Choose the Side You Will Stand From
Decide which side feels stronger or more stable. This will be your primary side for standing. Use your core, not your arms, to initiate the roll. Gently tilt both bent knees to that side while keeping your upper body relaxed, then allow your torso to follow.
Keep Knees and Feet Together
As you roll, keep your feet touching and your knees stacked. This maintains balance and prevents sliding. Rest your head comfortably on the floor or a soft surface. Position your bottom arm slightly in front of you for added support.
Your top hand can lightly press against your hip or the floor to guide the motion. Slow and controlled movement beats fast and risky every time.
Push Up Into a Hands-and-Knees Position

Place Your Hands for a Stable Base
Place one hand directly under your shoulder with fingers spread wide for better grip. Slide your other hand forward on the floor in front of your chest. This creates a stable triangular base that supports your upper body.
Avoid placing hands too far ahead, which can strain your shoulders. Keep your neck in line with your spine and resist the urge to crane your head upward yet.
Lift Your Torso with Control
Using your arms and upper body strength, gently lift your torso off the floor. Bring yourself into a hands-and-knees position with wrists under shoulders and knees under hips. Place a folded towel or cushion under your knees if kneeling causes discomfort.
Maintain a Neutral Spine
Keep your back flat, neither arched nor sagging. Imagine a straight line from your head to your hips. Engage your core again to support this alignment. This posture protects your lower back and prepares your body for the next step.
Shift Your Weight Forward Smoothly
Move Your Hips Ahead
Slowly move your hips forward while staying on your hands and knees. Bring your shoulders slightly ahead of your wrists to shift your center of gravity. This forward weight shift sets up the momentum needed to stand.
This small adjustment reduces the amount of force required from your legs and makes rising smoother. Take your time and breathe through the motion.
Stand Up Using Leg Strength
Press Through Your Feet
Your legs are stronger than your arms, so use them. Press firmly through both feet and extend your knees and hips together. Keep your chest lifted and your gaze forward rather than down at the floor.
Avoid pushing up with your hands more than necessary. Their role is balance, not lifting. If you feel wobbly, pause halfway and regroup before continuing.
Stand Tall and Steady
Once fully upright, take a moment to steady yourself. Bring your feet hip-width apart, relax your shoulders, and breathe deeply. Check your balance before walking. If a chair, wall, or countertop is nearby, use light fingertip support until you feel stable.
Practice the Technique in a Safe Space
Rehearse Daily Near Support
Practice this sequence daily when you are not in distress. Choose a clear area with a sturdy chair, wall, or bed nearby for support if needed. Practice builds muscle memory so your body knows what to do instinctively even after a fall.
Focus on Form Over Speed
Speed increases fall risk, so prioritize controlled movements over how fast you get up. Break down each step mentally. Think roll, push, shift, rise. Focus on body alignment and breathing throughout the entire sequence.
Use Padding for Knee Comfort
Place a yoga mat, folded blanket, or cushion under your knees during practice or when getting up on a hard floor. Even a thick towel works well. The goal is to remove