Falls remain one of the leading causes of injury among older adults, particularly during transfers like moving from bed to a wheelchair. A gait belt offers a simple yet powerful solution, giving caregivers a secure grip while supporting balance and mobility. Designed for both home and clinical settings, this tool becomes truly effective only when applied with proper technique. Knowing how to use a gait belt for elderly individuals safely can prevent injuries and protect everyone involved.
This guide walks you through every step, from selecting the right belt and checking for contraindications, to applying it properly and executing safe transfers. You will also learn how to assist with walking, respond to a fall, and avoid common mistakes. Whether you are a family caregiver or a trained professional, these techniques ensure safer, more confident mobility support.
Choose the Right Gait Belt for Elderly Safety

Select by Material and Width
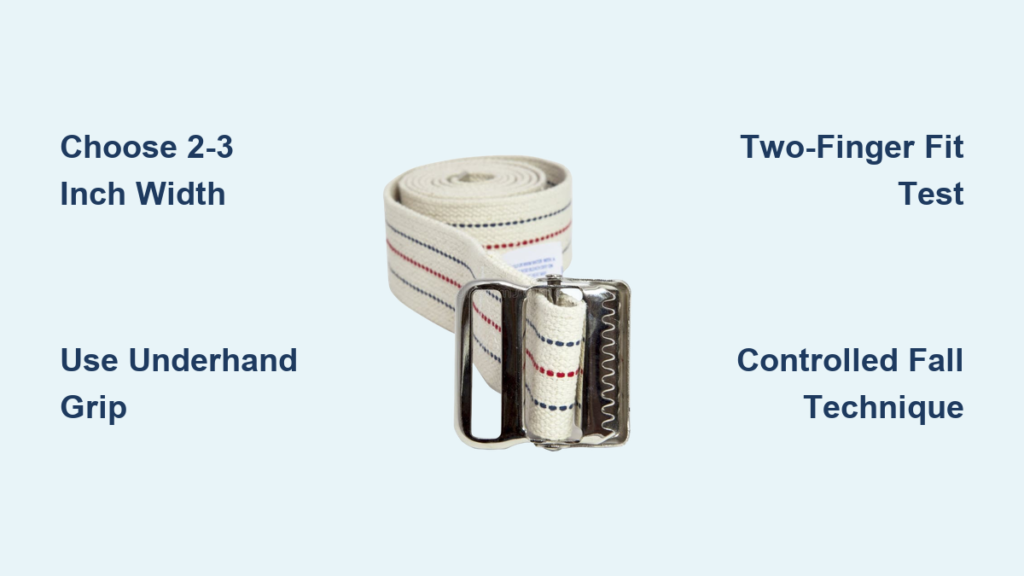
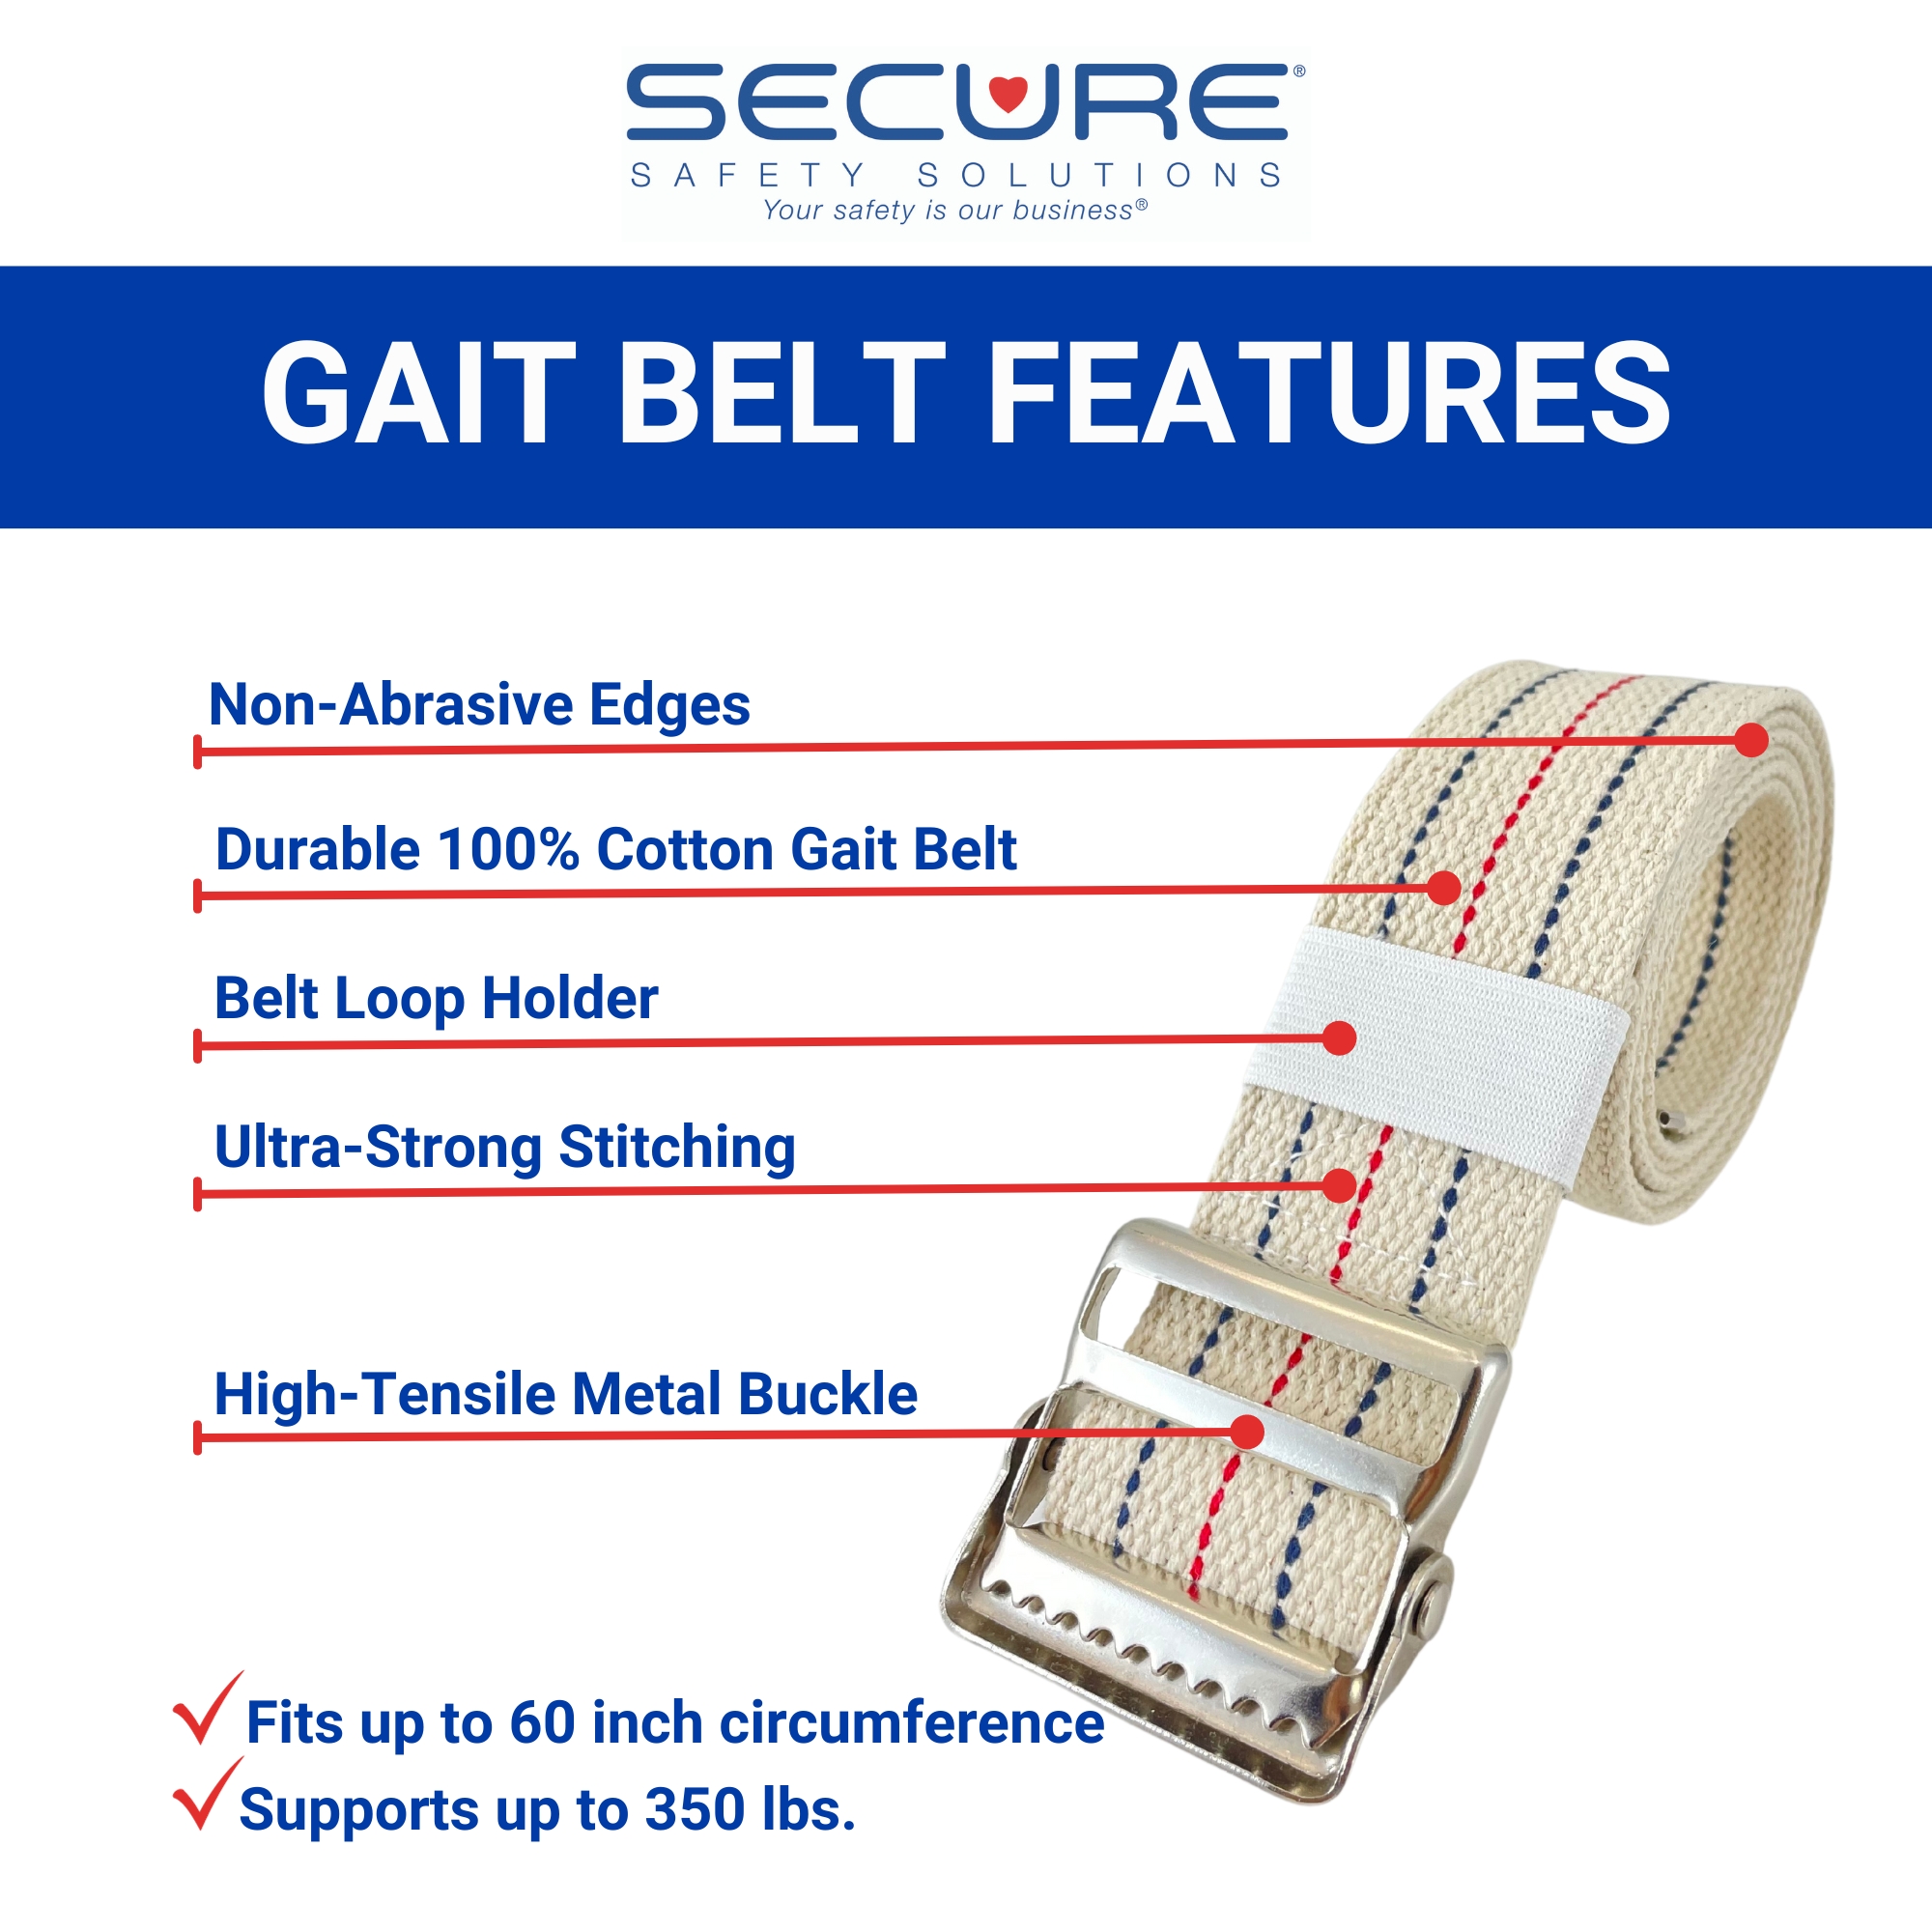
The effectiveness of a gait belt starts with proper selection. Aim for a belt that measures 2 to 3 inches wide, since this width distributes pressure evenly and reduces the risk of skin pinching or bruising. Narrow belts, like standard clothing belts, should never be used unless absolutely necessary in an emergency.
Two main materials dominate the market:
– Canvas or fabric belts: Durable and comfortable for single-user home care
– Neoprene-like belts: Easily sanitized, ideal for multi-user environments like nursing homes
Some enhanced models include reinforced grip loops or padded sections for added control, though they typically cost more.
Pick the Correct Buckle Type
Buckle design directly affects adjustability and security:
– Tooth-and-receptacle buckles: Most common in healthcare settings, allowing precise tightening and quick release
– Clip-end buckles: Simpler but less adjustable, often used for long-term patients
– Swivel buckles: Cinch tightly when pulled and resist loosening during movement
Avoid makeshift solutions. Never substitute a thin leather belt unless it is wide and sturdy, and even then, only as a last resort.
Check for Safety Risks Before Applying a Gait Belt
Know When Not to Use a Gait Belt
A gait belt is not safe for everyone. Do not apply the belt if the person has:
– Recent abdominal surgery
– Colostomy or ileostomy
– G-tube feeding device
– Fractured ribs or chest trauma
– Severe heart or lung conditions
– Abdominal aortic aneurysm
In these cases, pressure from the belt could cause serious harm. Use alternative methods like mechanical lifts or slide sheets instead.
Prepare the Environment and Person
Before applying the belt, take time to prepare the surroundings:
– Clear the floor of clutter
– Lock wheels on beds and wheelchairs
– Remove bed covers and footrests
– Have the person wear non-slip footwear or grippy socks
– Perform hand hygiene to prevent infection
Apply the Gait Belt Correctly

Position It Safely on the Body
Place the belt around the natural waist or hips, just above the pelvis and below the rib cage. For women, ensure it sits below the breasts. Never place the belt over surgical wounds, tubes, or sensitive skin areas. If hip placement is not safe, position under the armpits, but take care to avoid restricting arm movement.
Always place the belt over clothing, never directly on skin, to prevent friction burns and discomfort.
Thread and Secure the Buckle
For tooth-and-receptacle buckles, follow these steps:
1. Insert the strap end under the teeth of the buckle
2. Pull it back over the teeth and thread through the loop
3. Tighten firmly until snug
Tuck any excess strap inside the loop to prevent snagging on furniture or limbs.
Test the Fit with the Two-Finger Rule
After securing the buckle, slide two fingers side-by-side between the belt and the body. If your fingers do not fit, the belt is too tight. If more than two fingers fit easily, it is too loose. Ask the person if they can breathe comfortably, and adjust as needed.
Perform a Safe Bed-to-Chair Transfer
Prepare the Patient and Equipment
Before standing, sit the person up slowly and wait 2 to 3 minutes to prevent dizziness caused by orthostatic hypotension. Help them scoot to the edge of the bed and place feet flat on the floor, 12 inches apart. Position the wheelchair next to the bed, aligned with the hips, on the stronger side if applicable. Lock the brakes and remove the footrests to prevent tripping.
Stand Using Proper Body Mechanics
Caregiver stance matters greatly:
– Stand slightly in front or to the side of the person
– Keep feet shoulder-width apart, with one foot forward for balance
– Optionally, place one leg between the person’s legs as a pivot block if safe
For hand placement, instruct the person to place hands on the bed or in their lap. Grip the belt with palms facing up in an underhand grip, holding several inches from the buckle on both sides.
Execute the Lift Command
Use clear verbal cues throughout the process:
1. Instruct: “Lean forward, nose over toes”
2. Count aloud: “One, two, three”
3. On “three,” say: “Push up with your legs”
4. Assist by pulling forward and upward at a 45-degree angle
Use your leg muscles rather than your back, and keep your core engaged. Once standing, pause to allow the person to stabilize.
Pivot and Lower Safely
Guide the person to take small steps toward the chair until their calves touch the seat edge. Instruct them to reach back for the armrests. Count again: “One, two, three,” as they lower themselves. Use the belt to control the descent. Do not let them drop. Ensure they are seated fully before removing the belt.
Assist With Walking Using the Gait Belt
Position Yourself Correctly
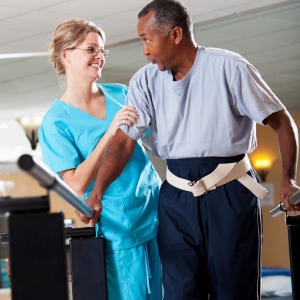
Stand to the side and slightly behind the person during walking. If one side is weaker, such as after a stroke, stand on the weaker side. If they tend to fall forward, position yourself slightly behind. This placement allows you to react quickly if balance is lost.
Guide, Don’t Pull
Maintain an underhand grip on the back or side of the belt. Keep elbows close to your body and use core strength. Walk at the person’s pace and never rush. Gently correct direction or stabilize wobbles with smooth motions. Never jerk or pull the belt. Your role is to guide and protect, not steer like a handle.
Handle a Fall With a Controlled Descent
Recognize When a Fall Is Unavoidable
If the person begins to collapse and you cannot stop the momentum, do not try to lift them back up. Attempting to hold them rigidly can injure your back or cause a worse fall. Instead, focus on controlling the descent.
Use the Controlled Fall Technique
Follow these steps to protect both parties:
1. Grip the belt firmly at the back with both hands
2. Widen your stance for stability
3. Bend your knees and lower your center of gravity
4. Pull the person close to your body to protect their head
5. Slide them down your legs as you kneel
6. Cushion their landing with your body and the belt
Once on the floor, call for help immediately. Do not attempt to lift alone. Use a nearby chair or mechanical lift with assistance. This technique uses physics, not strength, allowing smaller caregivers to safely guide larger individuals to the ground.
Follow Best Practices for Safety and Dignity
Maintain Proper Body Mechanics
Lift with your legs, not your back. Stay close to the person to reduce strain, and keep feet shoulder-width apart during all movements. Avoid twisting your spine. Pivot with your feet instead.
Communicate Clearly and Calmly
Explain each step before performing it. Use consistent cues like “One, two, three” for timing. Reassure the person with phrases like “I’ve got you. You’re safe.” Ask if they feel dizzy or uncomfortable. Clear communication reduces fear, especially for those with dementia.
Inspect and Clean the Belt Regularly
Check for frayed straps, broken buckles, or worn teeth. Wipe neoprene belts with disinfectant after each use. Wash fabric belts per manufacturer instructions. Store in a clean, dry place and replace damaged belts immediately.
Avoid Critical Mistakes
Several common errors can lead to injury. Never lift with palms down, as an overhand grip increases the risk of the belt slipping from your hands during a fall. Always use an underhand grip for maximum control.
Never use the belt to lift full weight. A gait belt is for guiding and stabilizing, not lifting. Attempting to carry someone’s full weight can cause skin tears, internal injuries, rib fractures, and caregiver back strain. Use mechanical lifts for non-weight-bearing individuals.
Never skip the orthostatic check. Going from lying to standing too quickly can cause fainting. Always sit the person up first, wait 2 to 3 minutes, and ask if they feel dizzy.
Never leave without the call light. After a transfer, place the call light within reach, preferably in their lap or on the bed. Confirm they can call for help anytime.
Frequently Asked Questions About Gait Belts for Elderly
What is the correct way to put on a gait belt?
Place the belt around the natural waist or hips, just above the pelvis and below the rib cage. For women, position it below the breasts. Always apply over clothing, never on bare skin. Thread the buckle correctly, tighten until snug, and verify fit using the two-finger rule.
How tight should a gait belt be?
A gait belt should be tight enough to prevent slipping but loose enough to allow comfortable breathing. Use the two-finger rule: slide two fingers side-by-side between the belt and the body. If you cannot fit two fingers, it is too tight. If more than two fit easily, it is too loose.
When should a gait belt not be used?
Avoid using a gait belt if the person has recent abdominal surgery, a colostomy or ileostomy, a G-tube, fractured ribs, severe cardiac or respiratory conditions, or an abdominal aortic aneurysm. In these cases, use alternative equipment like mechanical lifts or slide sheets.
Can one caregiver use a gait belt alone?
Yes, a single caregiver can use a gait belt for individuals who can bear some weight. However, never attempt to lift a person’s full weight with the belt. For non-weight-bearing individuals or heavier patients, always use a mechanical lift with assistance.
Where do you stand when using a gait belt for walking?
Stand to the side and slightly behind the person. If one side is weaker, stand on the weaker side. If they tend to fall forward, position yourself slightly behind. This placement allows quick reaction if balance is lost.
What should you do if the person starts falling while using a gait belt?
Do not try to hold them upright or lift them back up. Instead, perform a controlled descent: grip the belt firmly, widen your stance, bend your knees, and slide the person down your legs to the floor. Call for help immediately and do not attempt to lift them alone.
Key Takeaways for Using a Gait Belt Safely
Mastering how to use a gait belt for elderly individuals combines proper equipment selection, careful assessment, and precise technique. Always choose a belt that is 2 to 3 inches wide with an appropriate buckle type. Screen for contraindications before application, and never use the belt on bare skin or over medical devices.
During transfers, prioritize the two-finger fit test, the orthostatic adjustment period, and clear verbal cues. Use an underhand grip at all times, and remember that the belt guides movement rather than lifts weight. When walking, position yourself on the weaker side and walk at the patient’s pace.
Your next step is to practice these techniques with a willing partner or under the guidance of a healthcare professional. With repetition, using a gait belt becomes second nature and a cornerstone of safe, dignified elder care.